Developing for Windows 8 on a Mac
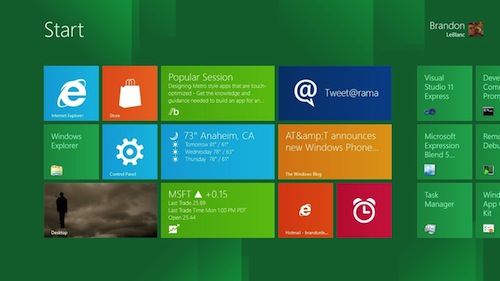
If you are developing apps for iOS (and maybe Android), you may be interested in developing for the upcoming Windows 8 devices too. You can already download and install a release preview of that new OS (download links and serial numbers are available here). [edit on Oct 19: if you want to develop apps for the Windows Store, install the RTM version instead] You can also download and install a release candidate of Visual Studio 2012 here. Do not use this link (which you are likely to find if you use Google) as the installer will give an error message on the .NET framework version.

I installed Win8RP and VS2012RC in VMWare Fusion (version 4) on my MacBook Pro 2,4GHz i5 processor with 4GB RAM running Mac OS 10.7 (aka “Lion”), and it was a disaster. Far too slow, therefore unnecessary crashes, and therefore a highly frustrating experience. For that reason I decided to do a complete reinstall using Bootcamp, to be able to boot in Windows natively, not wasting system resources on Mac OS X when I do not need it. Obviously I could have chosen to buy a separate laptop for Windows development, but when I am travelling I like to have all data with me on one device. And at home I like to use Apple’s Cinema Display instead of a small laptop screen.
So I went for a clean install of Mac OS 10.8 (aka “Mountain Lion”) and Windows 8 in a multi-boot setup. It took me some time to find out the best way to do this, and to solve some frustrating issues. Here are my “tips & tricks” for developers working on Mac OS X who like to start developing for Windows 8 too.
Installation instructions
- Backup your computer, I prefer Time Machine (in this case with a external harddisk using USB connection).
- Download Windows 8 and burn on CD. Make a note of the serial number. [edit on Oct 19: if you want to develop apps for the Windows Store, download the RTM version instead]
- Download “Mountain Lion” from the App Store (since Mac OS 10.6 -aka “Snow Leopard”- this is installed in your Applications folder). Do not install yet.
- Download Lion Diskmaker and install. Connect a USB disk (minimally 8Gb) and use the app to create a bootable installer.
- Reboot your Mac and hold the Option (Alt) key to enter the boot options. Select your USB disk, and follow instructions from there. Make sure that there is only one partition (formatted as Journaled). Do not create a Windows partition yet, because Bootcamp won’t accept it. Start the Mac OS installer and follow instructions from there.
- Once Mac OS X is installed, you’ll find Bootcamp in your /Applications/Utilities folder. Start it and follow instructions. It will attempt to download drivers for Windows 7 (just ignore the 7 and read 8 instead), but likely it will fail. You can also uncheck this option directly, and continue with the next step: selecting how much space you want to reserve for Windows. Set it according to your needs (I chose only 50Gb here).
- You can download Bootcamp’s drivers for Windows here. Use the installer to prepare your USB disk, and browser through the folders to unpack the disk image (I installed these drivers after the installation of Windows 8, so the DMG-file was not useful to me. Unpacking it in Mac OS X gives you the exe-files you’ll need in Windows… it saves you a reboot into the other OS)
–> to know the model number of your Mac (this determines which drivers to download), click on the Apple icon in the upper left corner of your screen, and go to About this Mac > More info > System overview and check the model info on the second line of the screen (as I use the OS in Dutch, I avoid a translation here, I think it will be something like “model indication”) - Make sure that your Windows 8 CD is in the drive, and follow the instructions to create the Windows partition and install the OS.
- If the Windows drivers were not installed (see step 6), you can do it now.
- In Windows, install VS2012RC
- Back in Mac OS X, you can use Time Machine to import all your data. In case you want a really clean install (I did, it saved me more than 100Gb !!) you can access the external hard disk directly to access your data.Note: if you were using OS 10.7 (Lion) or newer before installation, your Library folder is hidden. In your OS, simply go to Finder, and when you select Go in your menu, holding the Option (Alt) key reveals access to the Library folder (it contains the Application Support folder, which holds many of your data, like E-mail if you use Mail). In Time Machine this trick does not work. I chose to show all hidden files to access the Library folder on my backup. Open Terminal and type:
defaults write com.apple.finder AppleShowAllFiles TRUE
killall Finder(case-sensitive!) When you are done, repeat this with FALSE in the end, and the “hidden files” are hidden again.
- Now install the rest of your apps. I used the occasion to update some of my older apps, and iCloud made it easy to import my Calendar items and Contacts again.
- Done! You’re all set to use a clean (and fast!!) Mac OS X again, while at the same time offering you a boot-option into a Windows 8 system that works much better compared to using it in VMWare. Happy developing!
[…] View article: Developing for Windows 8 on a Mac […]